Monday, March 21, 2011

Easter is coming and I'm getting ready!

Self made image of Eastern Cottontail
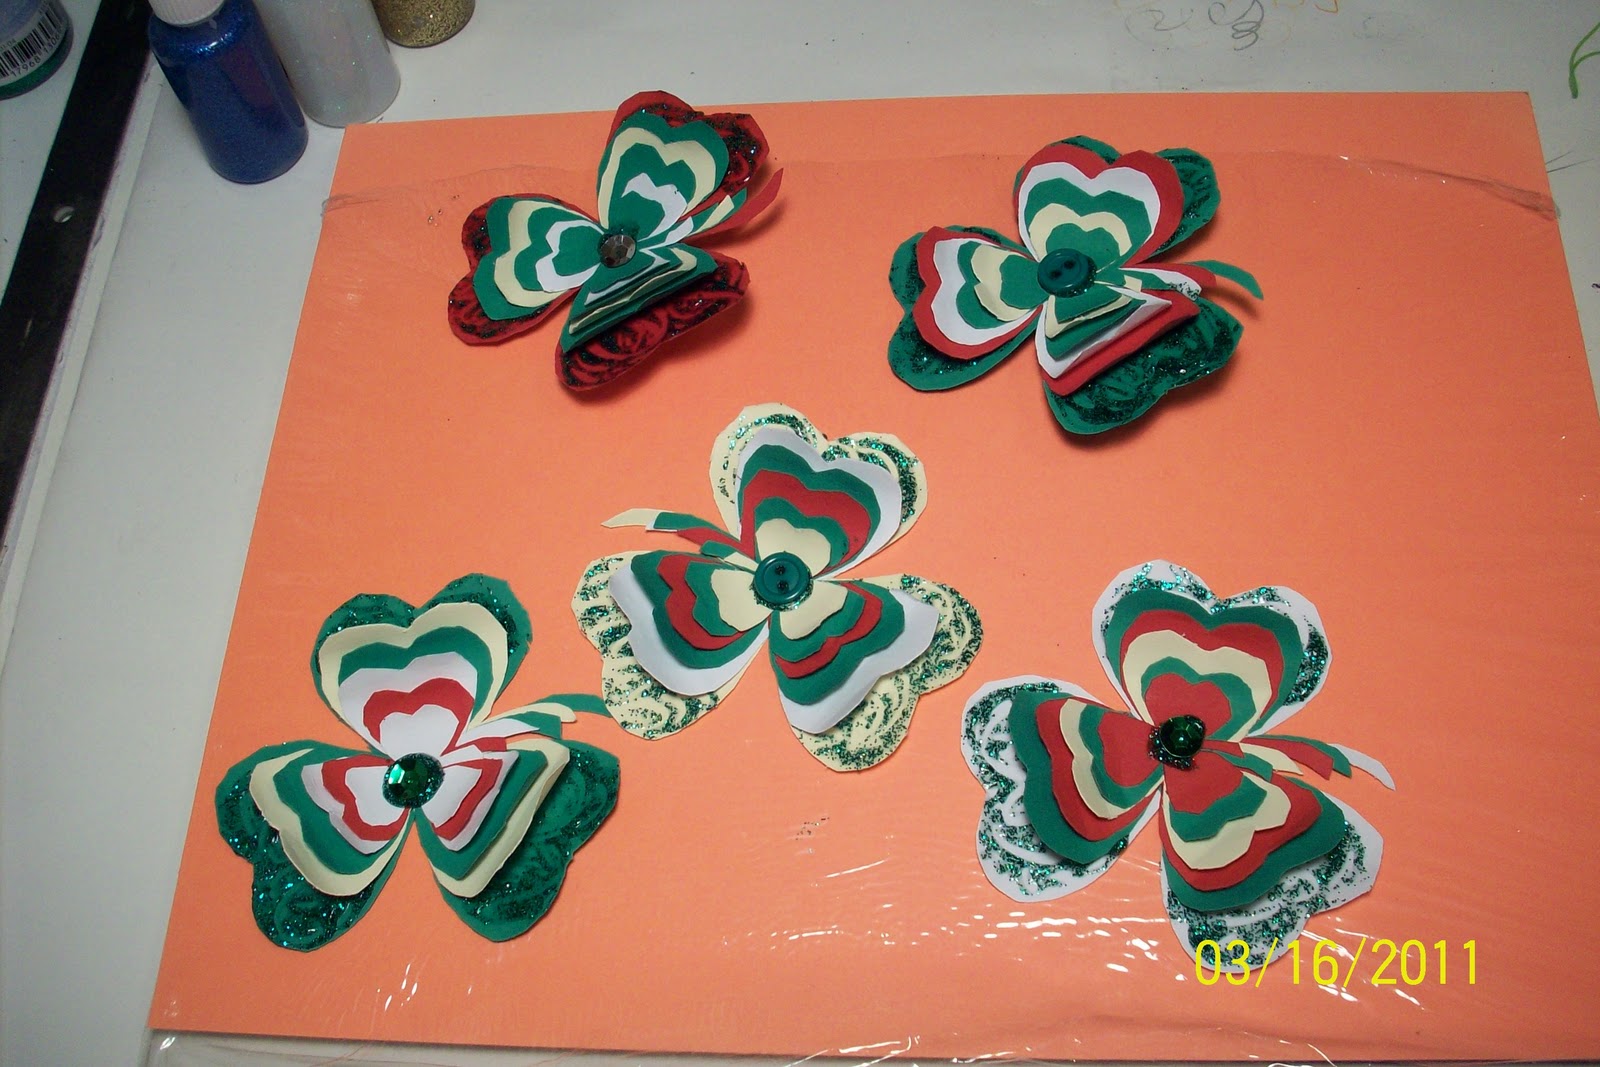
Image via WikipediaSince I almost missed St. Paddy's day, I decided to be better prepared for Easter.  I really liked the idea of that shamrock swag, so I think I will go with it again.  I went to JoAnn's today and bought more felt in pastel and spring colors. 

My plan is to cut out rabbits, baby chicks, and Easter eggs and then sew them together like I did with the shamrocks.  I'm still working on the design, because my rabbits need to look like rabbits, but not have ears standing upright;  my baby chicks need to be in a position that doesn't require little stick feet to be hanging. 

Another problem I see, is that the shamrocks were kind of limp once I hung them and so I need to figure out how to stabilize the rabbit/chick/egg cutouts to make them more stationary once hung up.

I also measured the windows to the nurse's station and will have to make quite a bit more of these little darlings if I want to swag each separate window.  I may be through in time for Easter, or maybe I'll just have to stop when the holiday gets here.  Either way, my unit at work will be decorated.  That's the plan.  I'll post pics once I start cutting.


Enhanced by Zemanta

Thursday, March 17, 2011

Happy St. Patrick's Day!

Well, I finally did finish my Shamrock swag and I took it to work to be hung on my unit.  I can't wait to see how it looks when I go in later today.  I also wore my shamrock pin for my "green" and gave one to my sister, the staffing coordinator at work and my Director of Nurses (who was wearing a navy panysuit with no green anywhere!).

Here's what the finished swag looked like:


So, may the 'Luck of the Irish' visit you and yours now and forever more!

Wednesday, March 16, 2011

Crafting for St. Patrick's Day

As usual, I'm a day late and a dollar short!  Well, I did finally get started on those St. Patrick's Day crafts that I posted the tutorials on.  I had to work quickly, since tomorrow is the day.  However, I had lots of fun making the pins and will continue to explore this concept for other holidays. 

As you can see from the pictures, I am still working on the Shamrock swag.  I hope to sew the shamrocks all together tonight, but if not then I will have to do it EARLY in the morning so I can take it to my work and hang it in the window on my unit.  I love it when my unit is festive and happy, so if this is what it takes, then I'm in for it!

Below you can see my progress.  Let me know what you think.

 Here's the shamrock pins ready to wear on my lapel tomorrow.  I know I will have my GREEN on, will you?

These are the shamrocks for the swag all ready to be sewn together and hung up to announce the holiday!
Enhanced by Zemanta

Tuesday, March 15, 2011

Another St. Patrick's Day Craft for you!

Here's another fun craft you can whip up quickly for St. Patrick's Day.  I am having so much fun.  I try to keep my work area cheerful and timely, so this is an easy craft to do just that.  Try it out and let me know how you like it, won't you?

I found this at Kirstikoo Handmade Gifts and thought I needed to put it here, too.  Please visit her site and let her know how yours turns out, won't you.
----------------------------------------------------------------------------------------------------------------

St. Patrick's Day Garland Tutorial

Excerpt from:  Kirstikoo Handmade Gifts
Here's the tutorial for the Shamrock Felt Garland, complete with the template and all :) This seriously was the easiest sewing project ever- hardest/most time consuming part was the cutting. And it only cost me $1.25 for supplies. Doesn't get better than that!!
Here's what you need:
Shamrock Template (Email me if you want it!) kirstikoo{at} gmail {dot} com
8X10 Felt Sheets (1 in each color): Green, Light Green, Dark Green, and White
White Thread (or green!)
Ribbon Scraps (about 4 inches each)
2 Buttons
Embossing Thread or other thick thread for buttons

Here's what you do:
Print and cut out the shamrock template. I folded the felt sheet in half lengthwise to cut 2 at a time and got 6 shamrocks out of each color. You might get a callus from cutting, but this is the most time consuming part.
Figure out the order you like and put them in piles...
Sew along the middle of each shamrock, placing the next one at the edge of the one before it. Backstitch and the beginning of the first one and end of the very last one.
Continue chain-stitching all your shamrocks.
Once you are done, get out your embellishments-- cut ribbon into two 4 inch pieces.
Fold the ribbon and make a sandwich with the end felt piece in between the ribbon and button
and sew button onto the felt & ribbon, leaving a tail to knot-
then make a square knot in the back.
And you are done!!

I had a hard time taking down my Valentine's decorations, but I do love me some green!
I especially love this pot of {chocolate} gold. The best part? My kids don't know it's candy!

Monday, March 14, 2011

Here's a great tutorial for St. Paddy's Day!

I found this lovely tutorial and felt like I should share it here.  Be sure to go to the original site,  A Fanciful Twist and view all the comments and maybe leave her a comment as well.  This looks like such fun, so I'm off to try this out!

 -----------------------------------------------------------------------------------------------------------
 Excerpted from A Fanciful Twist Blog


   St patricks day brooch 1 
You see that shamrock brooch there?  Well, I invented a fun and super easy way to make it.  I created a PDF cutout for you!!  Not only that, I have some FREE PDF Saint Patrick's Day Greetings for you too!  I always want to think up ways to say thank you, and add some easy fun to our lives...
I decided to created all different sizes and colors of shamrocks, and layer them... You know, how once a year, you are in your car and realize it is St. Patrick's day, and then you wish you had something cute to throw on?  Without having to dress in all green?  Well, here ya go...
       Brooch1
There were very fancy ways to attach the shamrocks to eachother.  However, I decided, if you are going to make them with your kids, or whip one up for yourself to wear, it should be super duper easy.  Especially if you are going to make more than one, maybe for friends? 
The PDF file you will be able to print out (especially good on nice thick white cardstock) is shown below...
(give it several seconds to open)


----------------------------------------------------------------------------------------------------------------


Enhanced by Zemanta

Tuesday, February 22, 2011

Tuesday Tutorial -- Martha's Bath Fizzies

Here's a tutorial from Martha Stewart that we all could use.  I know that the holidays are over, but there are many more gift giving opportunities in the coming year and with money as tight as it is right now, we can all probably enjoy a gift that someone made just for us.  Bath fizzies are a great way to de-stress and relax.  What a great way to pamper someone!
---------------------------------------------------------------------------------------------------------------


Ice-cube trays serve as molds, giving the fizzies their shape. Using a flexible silicone model lets you slide the cubes out smoothly without breaking them.

Show off the colors of the bath fizzies in glass jars with screw tops, the kind used for storing sugar and flour. Pack each type of fizzy in a separate jar so the scents won't meld. Write the name of the scent on a vellum tag (choose a shade that matches the fizzies), and punch a hole in the top. Thread the tag with ribbon, and tie it around the jar.

Citric acid, a common food additive, is available at wine-making-supply stores, some spice shops, and online. When citric acid is combined with baking soda and placed in water, a chemical reaction creates bubbles.

Makes 1 dozen (use 2 per bath)

Tools and Materials
1/2 cup citric acid
1 cup baking soda
3/4 cup cornstarch
1/4 cup organic cane sugar
About 6 drops food coloring
10 to 15 drops essential oil(s)
Special equipment: 2-ounce travel-size spray bottle, plastic pipette, silicone ice-cube tray, storage jars

Directions
1. Stir together citric acid, baking soda, and cornstarch in a glass measuring cup.
2. Pass mixture through a fine sieve or a flour sifter into a mixing bowl. Stir in sugar.
3. Fill spray bottle with water, and add food coloring. Spritz mixture lightly (it should become damp but not fizzy) until you can pack mixture with your hands.
4. Using pipette, add oil, 1 drop at a time, until strength of scent is to your liking. Using a metal spoon or your hands, mix ingredients until color is even throughout (mixture will begin to dry out; when this happens, spritz until packable again).
5. Spoon into ice-cube tray, pressing firmly. Let dry at room temperature overnight. Pop out of tray gently. Transfer to jars.


Read more at Marthastewart.com: Bath Fizzies - Martha Stewart Crafts
Enhanced by Zemanta

Monday, February 7, 2011

Free Heart Book Template

With Valentine's Day just around the corner, I thought I'd post something easy to do that would be a nice valentine to give to others.  I found this really cute tutorial for a Valentine Heart Book on About.com and I hope you enjoy making at least one of these cute books to hold special mementos from this year's Valentine's Day.

On another front, we started to decorate the nurses' station at work yesterday, but decided that it looked too much like a baby shower because we could only find pink and green valentine cards and pink streamers.  We just gave up and went to the store next door for rootbeer float supplies instead.  I think the floats were a hit!

Here's the tutorial.  Enjoy.  After you make this book, go to the original site and see all the other wonderful templates and tutorials they have to make beautiful boxes and cards.

_____________________________________________________________________________________

Folded Paper Heart Book

Folded Paper Heart Book
Kate Pullen
This folded paper heart book is deceptively easy to make. The book is formed from a single piece of paper. When the cover is added the book contains four pockets, each providing a space to hold a heart shaped billet-doux or love note. If you don't want the book to contain pockets then simply glue the pockets together. Although this book is small in size, it contains plenty of space for decorations, small photos, special notes and more.
The heart book is made using this free printable template - Heart Book Template. While I normally suggest printing templates onto scrap paper and using these as templates to transfer the design to best paper, in this instance, where the folding and cutting needs to be reasonably precise in order to get a neat finish, I suggest printing the template onto best paper. I have included two versions of the template, one in black and the other in a light gray. The gray template is ideal for use on lighter paper. Although the print is on the reverse of the book, the light gray ensures that the folding lines will not show through the paper and this is ideal if you are using a lighter weight paper.

Materials Required

  • Template
  • Paper and card
  • Scissors, glue, paper folder or folding bone and ruler
  • Ribbon
  • Rubber stamps, inks and other embellishments as required

Cut Out the Template

Cut around the template
Kate Pullen
Print the template directly onto best paper or onto scrap paper and transfer the image to best paper as required. Cut around the edges. Add decorations to the paper now or at a later stage if more appropriate. This is the best time to stamp on the paper as it is still flat.

Fold the Paper

Fold the Paper
Fold the Paper
Kate Pullen
Use a paper folder or folding bone to score and fold the paper. With the right side facing, fold the first heart under and continue folding the rest of the hearts in concertina style. This will give you a book with four pockets. Folding it the other way will give you three pockets. I prefer the four pocket version, however this is just a personal choice.

Make a Cover

Make the Cover
Make the Cover
Kate Pullen
Cut a cover from a piece of paper or card stock. Use the hearts as a template to cut the cover, making it slightly larger than the hearts. Score and fold the cover.

Attach the Ribbon

Add the Ribbon
Add the Ribbon
Kate Pullen
The ribbon that ties the book is sandwiched between the cover and the first pocket. Cut two lengths of ribbon. Mark the point on both sides of the cover where the ribbon is to be attached. Glue the ribbon in place on the inside of the cover. Glue the cover in place.

Make the Inserts

Make Inserts
Make Inserts
Kate Pullen
Cut four heart shapes for the billet-doux inserts, these need to be a fraction smaller than the heart pockets. Add any decorations as required and attach a ribbon tab to each insert.

Put the Inserts into the Pockets

Place the inserts into the pockets
Place the Inserts into the Pockets
Kate Pullen
Add any decorations as required on to the inserts. Place the inserts into each pocket. If you are looking for inspiration for things to write on the inserts, take a look at these short love poems or why not turn them into fancy conversation hearts!

Finish the Book

Add any finishing touches as required to the book. I added a row of beads around the edge of the one in the photograph.


Enhanced by Zemanta

Why Are Orcas Attacking Boats?

Recently I have been reading articles and news about Orcas attacking boats and causing quite a bit of anxiety.  Since these whales hunt in p...