Sunday, December 19, 2010

Dove Garland -- From Frugal Family Fun Blog

Here's another quick, last minute Christmas craft you and the kids can make to make your home more festive and ready for the holidays.  I personally love the idea of using something I have on hand to make an ornament, so this is right up my alley.  Visit the Frugal Family Fun Blog for more quick and easy and fun ideas.  While you are there, don't forget to say "Hi!" in the comments.

Emily and I made a pretty dove garland, and it was made using our new favorite art supply — coffee filters! These were so much fun to make!! If you have some coffee filters on hand, you can download our template, and print it out on card stock, to make a dove garland of your own!
Fold 2 or 3 coffee filters in half and line up the pattern so that the belly of the dove is on the crease of the fold. Invite your child over to trace the pattern!
Cut out your doves! Since the filters are thin, you can cut 2 or 3 at a time.
Separate your beautiful birds! They may want to give one another a kiss!
Attach your birds along some string with tape. Ours are in the kitchen, and every time there is a slight breeze, they look like they’re flying!!
Weeeee!!! Fly, doves, fly!!
We have another fun and frugal coffee filter craft coming soon (Clara LOVED it!), so get some coffee filters and craft along with us!
Have fun!!

Enhanced by Zemanta

Thursday, December 16, 2010

Paper Fan Flower

 Here is a wonderful tutorial I found on Under the Table and Dreaming.  Since it is so close to Christmas now, I thought I'd post this here and suggest that this would make a really beautiful substitute for a bow on packages.  They could be kept and hung next year as ornaments, so you'd be giving two gifts in one.  Just a thought!  I know these are beautiful and easy so I hope you can make a few this year.  Maybe just make some to give to co-workers as Christmas presents?  Enjoy.  Please do visit both of these wonderful blogs, too and don't be shy.  Leave them comments!


_______________________________________________________________________________________________

Hello all, this is Heather from WhipperBerry!
WhipperBerryLogo
We were soooo excited when Stephanie Lynn asked us to be a part of her handmade ornament week. The problem for us…picking just one. We decided to offer two super simple ornaments that would be lovely on a tree, as décor or a beautiful gift for friends and neighbors.
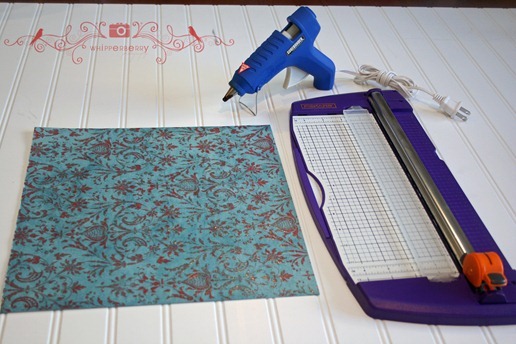
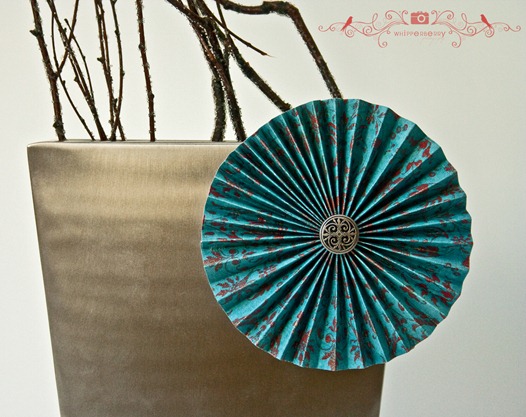
WB 067We will begin with the Paper Fan Flower. We have used this little gem several different ways and thought it would also make a great ornament for a beautiful tree. Here is how to make one.
You will need’
  • One sheet of 12x12 scrapbook paper. I would use a rather light weight paper for this project.
  • Paper cutter and scissors.
  • A glue gun
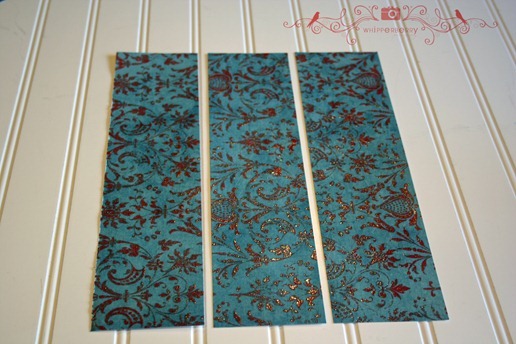
WB 003Cut paper into three, 3x12 strips.
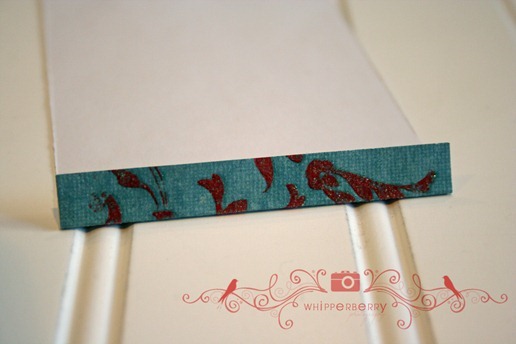
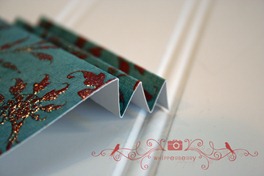
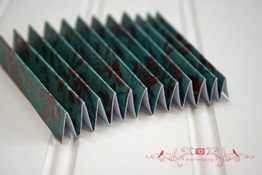
WB 005Start folding the first strip of paper like a paper fan with 1/2 inch folds.
WB 008
WB 018 WB 021
Continue folding all three strips of paper.
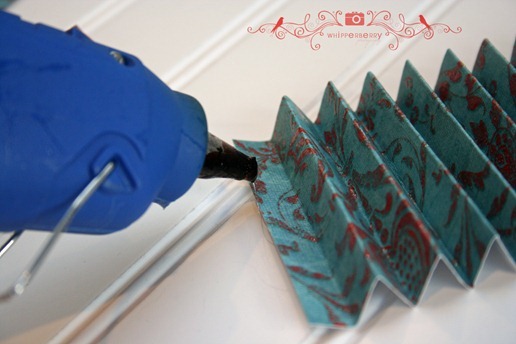
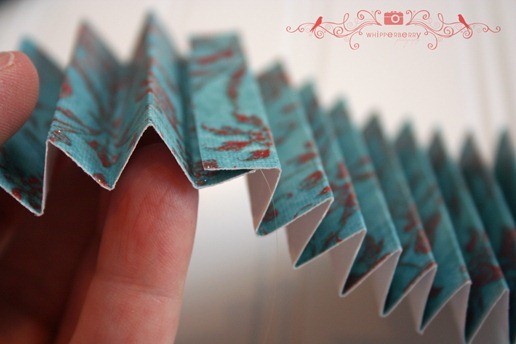
WB 024Next, you need to glue all three strips of paper together with hot glue. Put a thin strip of glue on the end of the first strip and connect the second strip while keeping the folds consistent.
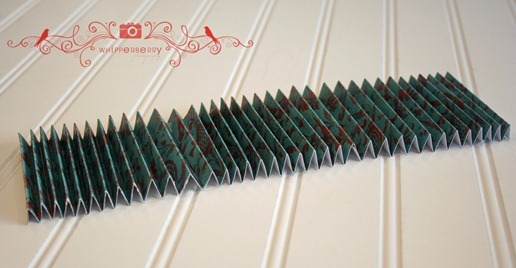
WB 026Then connect the third strip, making on long folded piece of paper.
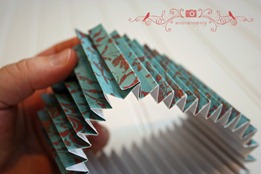
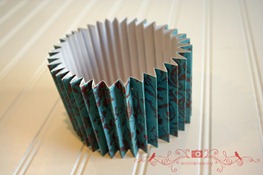
WB 030You will then connect the ends.
WB 035 WB 038
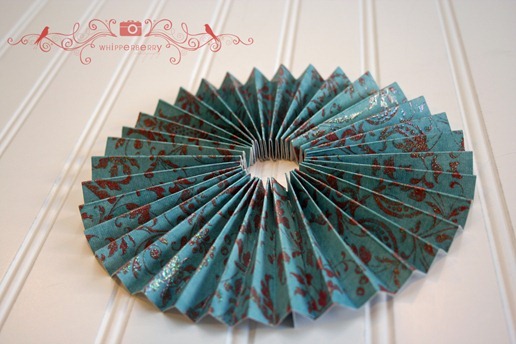
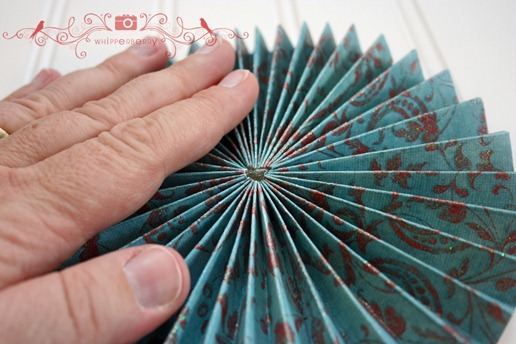
Next, you will smoosh {real technical, I know} it down to create the flower.
WB 040The flower will need to be anchored in order to keep that shape.
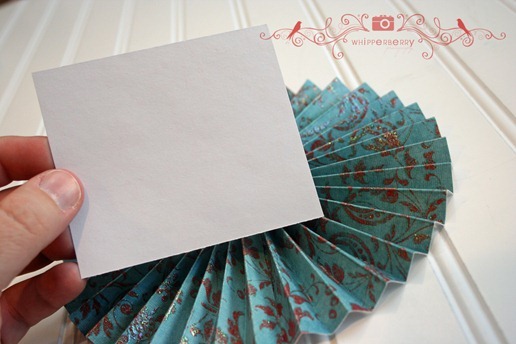
WB 046I take a piece of scrap card stock and place a large glob of hot glue in the center of the card stock. Then place the center of the flower on top of the glue and push it together to tighten the flower.
WB 048You can embellish the center how ever you like. For this example I used a button but you can use anything really.
WB 067
Enhanced by Zemanta

Friday, December 3, 2010

Here is a recipe that is simple and tastes great.

I found this recipe here

♥ Apple Pie Cake

  • 1 cup sugar
  • 2 eggs
  • 1/2 tsp almond extract
  • 4 apples (your choice of variety) cored, peeled and sliced
  • 1 cup whole wheat (or white if you prefer) flour
  • 2 tsp baking powder
  • dash of salt
Combine sugar, eggs and almond extract in a large bowl. Mix well. Stir in the sliced apples to this mixture. Sprinkle the flour, baking powder and pinch of salt over the appley-good mixture. Mix Mix, Stir Stir...until well combined. Pour into a greased 8-10 inch pie or cake pan. Bake at 350 degrees F for 30 minutes. Cool slightly before serving.
YUM!!

It's crazy-simple, and SO SO good!

I am always looking for simple and easy recipes, especially now when time is so constrained and you feel you are being pulled in a million directions at once.  This cake is to die for and just the ticket for a cold, holiday evening.  I made it and served it with vanilla ice cream while it was warm.  UMMMMMM GOOD!
Please feel free to check out the blog I found this recipe on, if you have time.

Saturday, November 20, 2010

Paper Heart Garland

Here is a really neat and quick little craft to decorate your home or office for next to nothing.  I love the ease and simplicity of this craft.  I think you could use this idea to make all kinds of garlands for every holiday!

I found this tutorial on Think Crafts Blog and recommend that you go there to visit and review all of the great craft ideas there.


5:01 am Crafts, Green Crafting, Home Decor, Kid's Crafts, Paper Crafts By Kid’s Craft Contributor, Gillian from the blog “Dried Figs and Wooden Spools”.

Here’s a fun little project that uses up materials you probably have around the house and brings a whole lot of cheer and love! These little garlands are made from newspaper and really nothing more, but the layering and folding of the shapes turns something that usually ending up in the recycling bin into something pretty and charming in no time flat.
Here’s what you need:
Newspaper
Pencil
Scissors
Scrap of cardstock
Sewing machine and notions (including white thread)

1. Cut a heart (or star or whatever shape you like) out of the cardstock. This will serve as your template. It’s important to have the shapes as close to identical as possible, so a template is a must.
2. Trace the template onto the newsprint. You’ll need two shapes for each piece on the garland.
3. Stack two shapes on top of one another, making sure the edges are aligned.

4. Starting at the top of one stack, stitch down the very center of the shape, allow for a few stitches between and then start the next stack.

5. Once you have all your stacks sewn onto the chain, trim the threads at the bottom (the to can be used for hanging) Fold each layer in half along the stitch line, but in opposite directions. So the top halves fold up to meet each other and the bottom pieces fold down to meet each other. This creates a 3D effect.

6. Hang and enjoy!

Enhanced by Zemanta

Tuesday, November 16, 2010

No Craft night after all

Three Christmas ornamentsImage via Wikipedia
We had to cancel the craft outing because one of the participants got sick.  So, no crafting and no pictures.  However, I did get all the supplies together and I will try to work on my ornament in the morning.  If I can muster up the motivation, I will also take pictures along the way.  These are really cute ornaments and I really want to show you how to make them. 


I think these could possibly be used at my workplace because they are made of paper and have no "contraband" items anywhere.  So, sorry that I don't have pics today, but check back tomorrow to see if I get my act together.


Enhanced by Zemanta

Monday, November 15, 2010

Going to a Craft night with friends tomorrow!

Christmas in the post-War United StatesImage via WikipediaSince I seem to be in a place where I just can't get myself started, I have been trying to arrange a monthly Craft Night with friends from work.  Well, I finally got everything arranged and we will be meeting for our first crafting experience tomorrow.  I am so excited.  We will be making some Christmas Tree Ornaments with crepe paper and beads.  I will take my camera and hopefully get a tutorial out of the process.  If not, I will at least have some fun pics to post!  I will put those up tomorrow when I get home!
Enhanced by Zemanta

Monday, November 8, 2010

Christmas craft that is easy and pretty!

I have been talking about getting a monthly craft night set up with some of the nurses I work with for quite a while now.  It seems that finally this event may actually become reality.  We have a place to meet and a tentative date and even some idea of what craft we want to work on.  I hope this happens because I think working as a group will inspire us all to stay motivated and I know it will help me to get going on other projects I have in various stages of completion at home.  This is the perfect time to start a craft group with the holidays fast approaching, so keep your fingers crossed.


In this spirit, here is a quick and easy Christmas ornament that you and the kids can put together in a short period of time.  Enjoy.


Everyone loves personalized gifts for the holidays.  Make these Easy Photo Christmas Ornaments by Fawnda Norman for everyone on your list this year.  They will also look great on your tree!
 
Materials:
  • Christmas cards
  • Paper Cutter
  • Big chunky beads
  • Double sided tape
  • Wallet size photo (I printed mine on paper)
  • Twine or Ribbon
  • Exacto Knife
Instructions:
  1. Cut your cards in to 3X3 inch squares and group them by color. You need 6 squares for each ornament.


  2. On the back side of each square find mark the midpoint on each side (at 1.5 inches)


  3. Score a diagonal line connecting your midpoints. Do this on each square.


  4. Fold on your score lines. You should have 6 squares that look like this:


  5. Choose two squares to be your top and bottom. Find the middle (I drew lines across from each corner to find mine) and use your Exacto Knife to cut a whole in the center.


  6. Use your double sided tape to connect your 2 of the corners of 2 of your squares.  This is what the back should look like:


    And this is what the front should look like:


  7. Continue connecting until you have 4 of your squares together that make a "tube".


  8. Choose the bottom and sting your twine or ribbon through the hole and attach onto the bottom of your "tube"


  9. Pull your twine up through your tube and through your top piece. Connect your top piece to the rest of the ornament.


  10. Tie a loop on the top.


  11. And tie a bead onto the bottom.


  12. cut out your photos (about 2X2 inch square) and attach it to one of the sides.


  13. You're done!

Enhanced by Zemanta

Why Are Orcas Attacking Boats?

Recently I have been reading articles and news about Orcas attacking boats and causing quite a bit of anxiety.  Since these whales hunt in p...