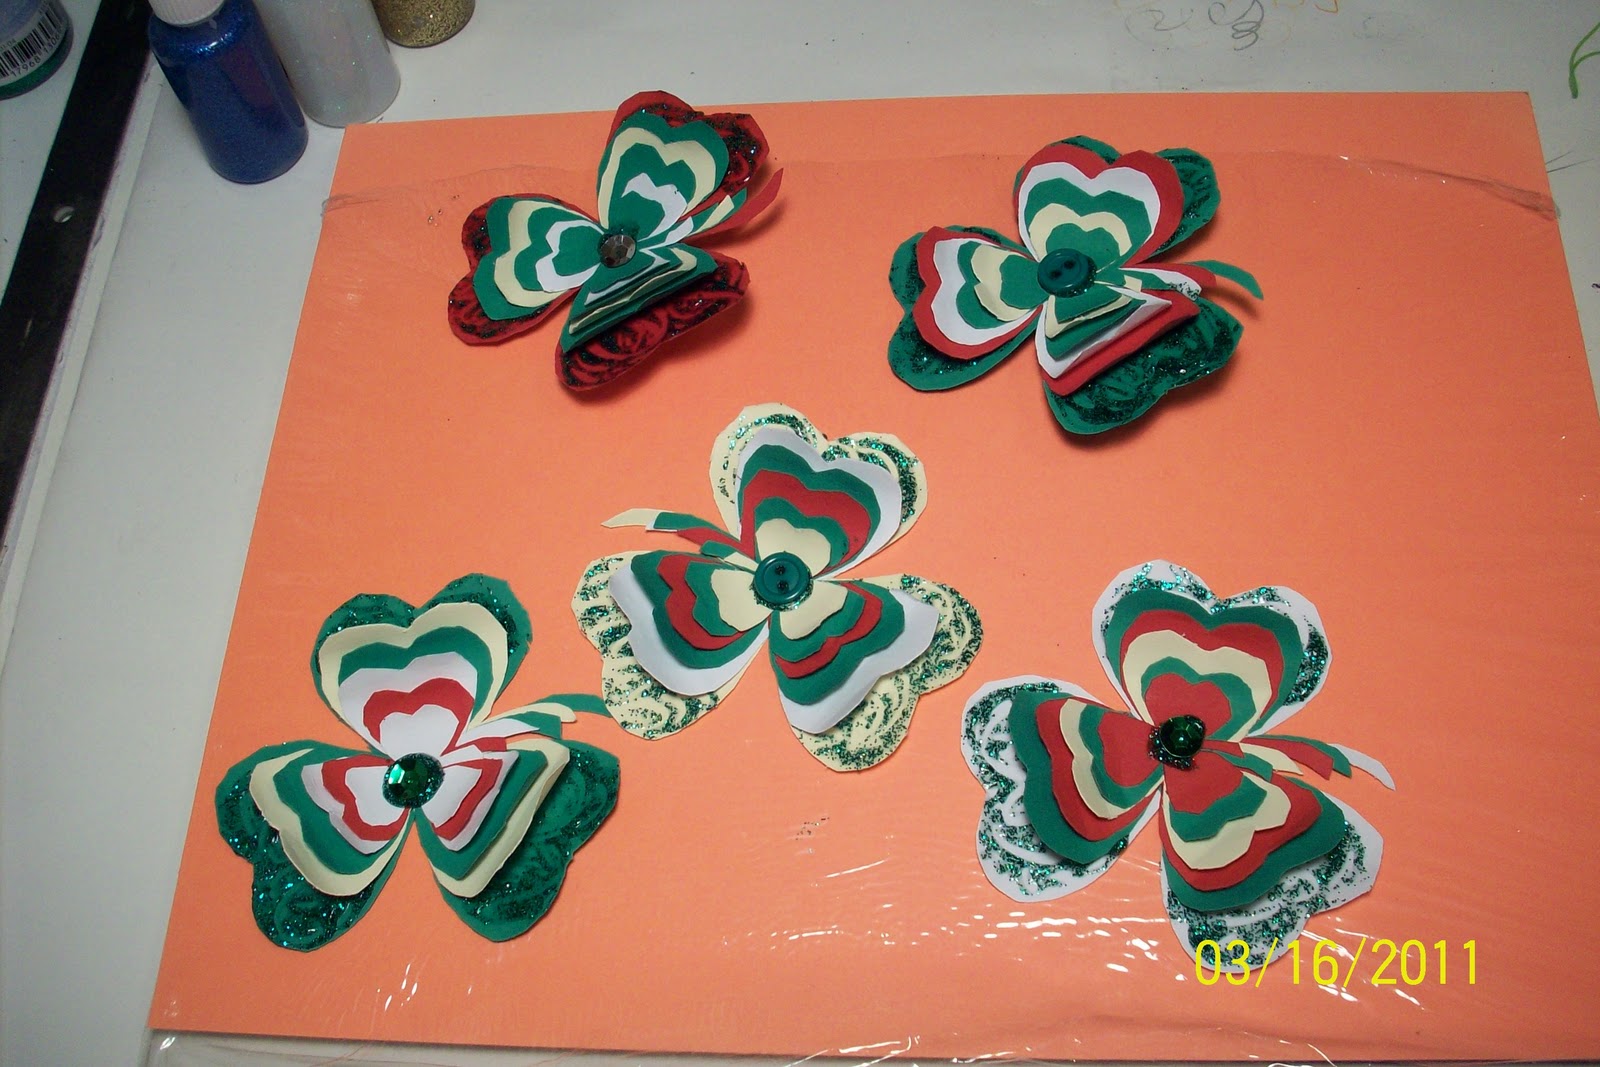
Here's another fun craft you can whip up quickly for St. Patrick's Day. I am having so much fun. I try to keep my work area cheerful and timely, so this is an easy craft to do just that. Try it out and let me know how you like it, won't you?
I found this at
Kirstikoo Handmade Gifts and thought I needed to put it here, too. Please visit her site and let her know how yours turns out, won't you.
----------------------------------------------------------------------------------------------------------------
St. Patrick's Day Garland Tutorial
Here's the tutorial for the Shamrock Felt Garland, complete with the template and all :) This seriously was the easiest sewing project ever- hardest/most time consuming part was the cutting. And it only cost me $1.25 for supplies. Doesn't get better than that!!
Here's what you need:
8X10 Felt Sheets (1 in each color): Green, Light Green, Dark Green, and White
White Thread (or green!)
Ribbon Scraps (about 4 inches each)
2 Buttons
Embossing Thread or other thick thread for buttons
Here's what you do:
Print and cut out the shamrock template. I folded the felt sheet in half lengthwise to cut 2 at a time and got 6 shamrocks out of each color. You might get a callus from cutting, but this is the most time consuming part.

Figure out the order you like and put them in piles...

Sew along the middle of each shamrock, placing the next one at the edge of the one before it. Backstitch and the beginning of the first one and end of the very last one.

Continue chain-stitching all your shamrocks.

Once you are done, get out your embellishments-- cut ribbon into two 4 inch pieces.

Fold the ribbon and make a sandwich with the end felt piece in between the ribbon and button

and sew button onto the felt & ribbon, leaving a tail to knot-

then make a square knot in the back.

And you are done!!

I had a hard time taking down my Valentine's decorations, but I do love me some green!
I especially love this pot of {chocolate} gold. The best part? My kids don't know it's candy!


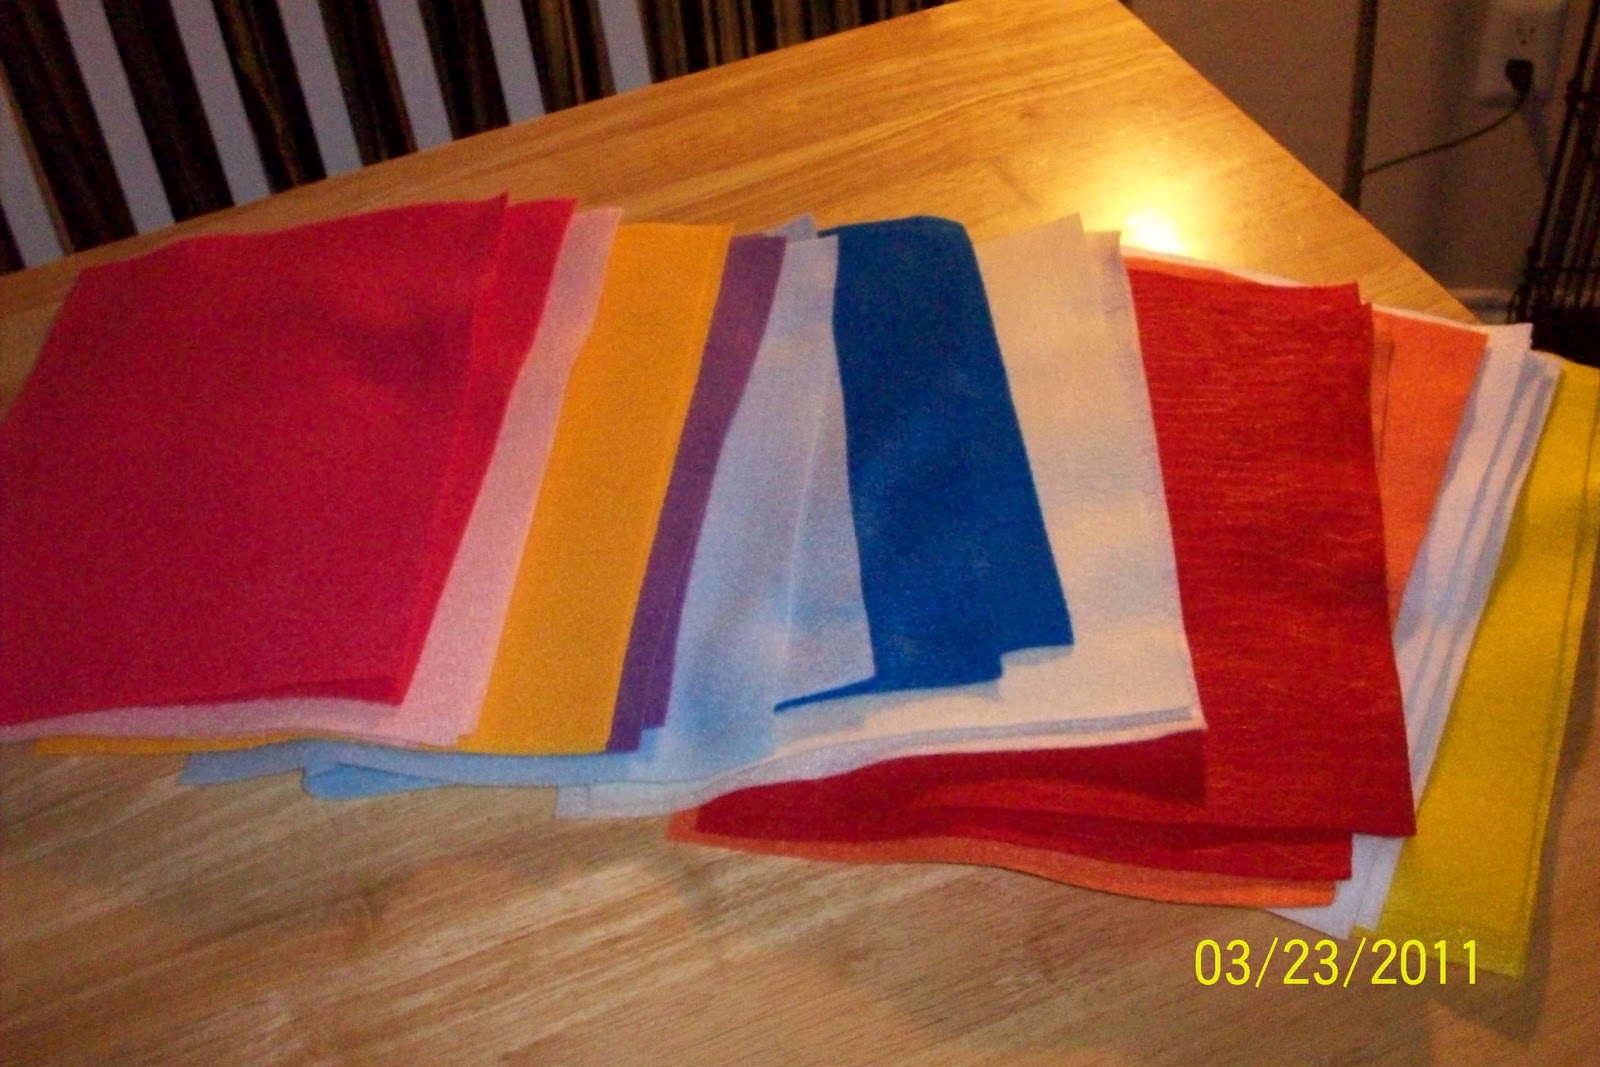

 Image via WikipediaSince I almost missed St. Paddy's day, I decided to be better prepared for Easter. I really liked the idea of that shamrock swag, so I think I will go with it again. I went to JoAnn's today and bought more felt in pastel and spring colors.
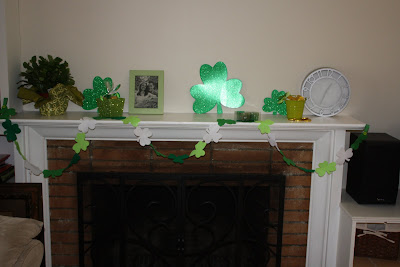
 Well, I finally did finish my Shamrock swag and I took it to work to be hung on my unit. I can't wait to see how it looks when I go in later today. I also wore my shamrock pin for my "green" and gave one to my sister, the staffing coordinator at work and my Director of Nurses (who was wearing a navy panysuit with no green anywhere!).
 Here's what the finished swag looked like: